

0 comment
How to Build a Bookcase: Beginner Guide
If you’ve ever looked at an empty wall and thought, I could fill that with books, this guide is for you. We’ll walk through how to build a bookcase from scratch—clear, beginner‑friendly steps with a simple cut list, tool checklist, and pro tips to keep everything square and sturdy.
You’ll also find quick sections on how to build a bookcase for beginners, how to build a simple bookcase with basic tools, how to build a built in bookcase, how to build a built‑in bookcase into a wall, and even how to build a hidden bookcase door. When you’re comparing DIY vs. ready‑made, browse classic and modern bookcases for storage ideas.
What You’ll Build (and Why This Plan Works)
Project: A clean, modern bookcase with a face frame and adjustable shelves Skill level: Beginner‑friendly Time: A weekend (cutting + assembly Day 1, finish Day 2) Highlights:
-
Simple joinery (screws + glue; optional pocket holes)
-
Strong and square (fixed center shelf + back panel)
-
Easy to customize (width, height, and shelf count)
Reference size for this tutorial (customize to your room):
-
Overall height: 72 in
-
Overall width: 30 in
-
Depth: 11¼–12 in (standard book depth)
-
Shelves: Top, bottom, 1 fixed center shelf + 3 adjustable shelves
Why 72" x 30"? It’s tall enough for serious storage but still manageable for one person to build, paint, and move. Shelves at ~28½" span resist sag (and you can stiffen them—details below).
Tools & Materials

Core tools
-
Circular saw (with straightedge guide) or miter saw
-
Drill/driver + countersink bit (or pocket‑hole jig if you prefer)
-
Random‑orbit sander (120/150/220 grits)
-
Tape measure, square, pencil, clamps
-
Stud finder & level (for anchoring later)
-
Brad nailer (optional; a hammer works)
Materials (for the reference 72" × 30" build)
-
3/4" plywood (1 sheet, 4' × 8') for sides, top, bottom, shelves
-
1/4" plywood for the back (one piece ~30" × 72")
-
Solid wood 1×2s for the face frame (two 8‑ft sticks usually cover it)
-
Wood glue
-
1‑1/4" wood screws (or pocket screws if using a jig)
-
1" brads (optional)
-
Adjustable shelf pins (plus a simple shelf‑pin jig or measured layout)
-
Edge banding (optional if you skip a face frame)
-
Primer + paint or stain + clear coat
-
Anti‑tip straps/brackets for safety
Cut List (72" H × 30" W × ~12" D)
From 3/4" plywood:
-
Sides (2): 72" × 11¼"
-
Top (1): 28½" × 11¼"
-
Bottom (1): 28½" × 11¼"
-
Fixed center shelf (1): 28½" × 11¼"
-
Adjustable shelves (3): 28½" × 11¼"
From 1/4" plywood:
-
Back (1): 30" × 72" (trim to fit during assembly)
From 1×2 face frame stock (actual ¾" × 1½"):
-
Stiles (2): 72"
-
Rails (3–4): 27" (top, bottom, and one or two mid rails)
No table saw? Have the home center rip the plywood into 11¼" strips. You’ll only need to cross‑cut to length at home with a circular saw and guide.
Step‑by‑Step: How to Build a Bookcase (Simple, Beginner‑Friendly)
1) Prep & Layout
-
Mark all parts directly on the plywood before cutting; label each piece as you go.
-
Lightly sand the factory edges so your face frame sits cleanly later.
-
If you’re adding adjustable shelves, mark a consistent layout of shelf‑pin holes on the inside faces of the sides (e.g., a column 2" from the front and another 2" from the back, every 1¼"–1½"). Use a jig for accuracy.
2) Cut the Carcass Parts
-
Cross‑cut sides to 72".
-
Cross‑cut top, bottom, fixed shelf, and adjustable shelves to 28½".
-
Keep cuts square—check with a speed square after each cut.
3) Assemble the Carcass (Box)
-
Lay one side on the bench, inside face up.
-
Apply glue and clamp the bottom flush with the bottom edge; pre‑drill and drive 1‑1/4" screws through the side into the bottom. Repeat for the top.
-
Flip the box and attach the other side.
-
Measure and install the fixed center shelf at mid‑height (or wherever you want extra rigidity). Glue and screw from the outside; the face frame will cover the screws later.
Keep it square. Measure diagonals; if they match, you’re square. If not, nudge with clamps before the glue sets.
4) Attach the Back
-
Dry‑fit the 1/4" back. Trim if needed so edges are flush all around.
-
Glue along the rear edges of the carcass; nail the back in place every 6–8".
-
The back locks the case square and adds racking strength—don’t skip it.
5) Build & Install the Face Frame
-
Cut 1×2 stiles to 72" and rails to 27".
-
Assemble the frame with glue and brads (or pocket screws).
-
Dry‑fit, then glue and pin the face frame to the carcass, flush to the outside edges. Clamp while the glue sets.
6) Drill Shelf‑Pin Holes (if you didn’t earlier)
-
Use a jig to keep holes straight and evenly spaced.
-
Insert shelf pins and test‑fit shelves.
7) Sand & Finish
-
Fill nail/screw holes with wood filler.
-
Sand 120 → 150 → 220.
-
Wipe clean, prime (if painting), and apply two finish coats.
-
If staining, use a pre‑stain conditioner on plywood for even color.
8) Install & Anchor
-
Place the bookcase, shim level if floors are uneven.
-
Anchor to studs with anti‑tip hardware through the top rail or an L‑bracket. Safety first.
Prevent Shelf Sag (Worth Two Minutes of Planning)
Books are heavy. To keep shelves straight:
-
Limit spans to ~28–32" with ¾" plywood.
-
Add a 1×2 front nosing (glue + brads) to each shelf—the 1½" “L‑beam” boost dramatically cuts sag.
-
Or split the case with a center divider for ultra‑wide designs.
How to Build a Bookcase for Beginners

If you want a shortcut overview:
-
Have the store rip your plywood to width.
-
Cross‑cut parts at home with a straightedge.
-
Glue + screw the box; nail on the back.
-
Attach a face frame (or iron‑on edge banding).
-
Sand, finish, and anchor.
This is how to build a simple bookcase with minimal tools—no complicated joinery needed.
Customize the Look
-
Modern: Skip the face frame; use edge banding; paint white or black.
-
Warm & classic: Add the face frame; choose a wood tone or soft color.
-
Styled base: Build a 3–4" plinth/toe‑kick under the case.
-
Crown & base: Add simple crown molding at the top and trim at the bottom for a built‑in vibe.
How to Build a Built In Bookcase (Freestanding → Built‑In)
You can turn the freestanding case into a seamless built‑in with a few extras:
-
Plan the wall. Measure height to ceiling and width between adjacent walls or trim. Decide if the unit will be standalone, multiples ganged together, or stretched with filler strips.
-
Remove baseboard where the case will sit. Save it to reinstall on the face later.
-
Add a platform base (a level plywood plinth) to support the case and to hide shims.
-
Scribe to the wall. If walls aren’t straight, scribe and trim the case sides or add scribe strips (narrow filler pieces) so the face frame meets the wall perfectly.
-
Secure to studs. Drive screws through the top rail and fixed shelf into studs.
-
Trim out. Reinstall baseboard across the front; add crown at the top; caulk seams; then paint for a seamless finish.
How to Build a Built‑In Bookcase Into a Wall (Recessed)
A recessed look pulls the bookcase into the wall cavity. Proceed carefully:
-
Confirm the wall is non‑load‑bearing. If unsure, consult a pro.
-
Scan for utilities. Electrical, plumbing, and HVAC must be rerouted by licensed trades if present.
-
Open the wall between studs. Standard stud spacing is 16" on center. You may need to frame a larger opening (header + jack/king studs) to widen the cavity safely.
-
Build a shallow carcass matching cavity depth (often 3½"–5½" depending on studs and drywall).
-
Anchor to framing with screws through the case sides and top/bottom into studs.
-
Trim the face with a casing or a face frame flush to the wall. Caulk and paint for a zero‑gap finish.
How to Build a Hidden Bookcase Door (Concept Overview)
A hidden bookcase door is a pivoting bookcase that acts like a door. It’s a fun project with a few critical rules:
Hardware & structure
-
Use heavy‑duty pivot hinges (floor + head pivot) rated for the full weight of a loaded case. Traditional butt hinges often sag.
-
Keep depth modest (10–12") and width narrow (24–30") to reduce leverage and keep motion smooth.
-
Consider a concealed floor caster near the pull side to carry weight without advertising itself.
-
Balance the load. Put heavier books near the hinge side and low on the shelf.
Clearances
-
Leave reveal gaps around the case (⅛–¼") so it swings freely without rubbing.
-
Chamfer the pull side’s back edge so it doesn’t bind as it pivots.
Safety
-
Add a simple mechanical stop so the case can’t over‑rotate and pinch fingers.
-
Confirm the latch is easy to open from both sides in an emergency.
This is the safe, beginner‑level overview for how to build a hidden bookcase door. For first‑timers, consider using a ready‑made heavy‑duty pivot kit and follow the manufacturer’s specs closely.
Finishing Tips (That Make a Big Difference)
-
Painting plywood? Prime with a bonding primer; sand lightly; then apply two thin topcoats.
-
Staining? Use a gel stain or veneer‑faced plywood for an even tone; finish with water‑based polyurethane for durability.
-
Durable edges: A face frame protects plywood edges in high‑traffic rooms.
-
Inside first: Finish interior surfaces flat on the bench before final assembly when possible—it’s faster and cleaner.
Anchor & Safety Checklist
-
Always anchor tall cases with anti‑tip hardware into studs.
-
Place heaviest items low to improve stability.
-
For homes with kids, avoid climbing hazards (no drawers as steps) and keep breakables out of reach.
-
For built‑ins and recessed cases, confirm your plan doesn’t compromise structural framing or building codes.
Troubleshooting: Common Mistakes & Easy Fixes
-
Case isn’t square: Loosen clamps, pull the long diagonal shorter, and nail the back while square.
-
Shelves sag: Add 1×2 nosing or a center divider; keep spans ≤ 30".
-
Visible screw heads: A face frame hides them; otherwise use wood filler and a sanding block.
-
Wavy cuts: Use a straightedge guide with your circular saw; support sheets fully to prevent flex.
-
Doors won’t align on a hidden door: Verify plumb/level at the hinge and floor pivots; adjust the caster height and hinge pins.
Frequently Asked Questions
What thickness should shelves be?
¾" plywood is standard. For wide spans or heavy loads, add a 1×2 nosing or choose 1" material.
How deep should a bookcase be?
11–12" fits most books. Oversized art books may need 13–15".
Do I need a face frame?
No, but it adds stiffness and hides fasteners. Edge banding is a clean, modern alternative.
Can I stack two shorter cases?
Yes—add a cleat to join them, then cover the seam with a face frame rail or trim.
Should I choose plywood, MDF, or solid wood?
-
Plywood: Strong, light, stable—great for paint or veneer.
-
MDF: Ultra‑smooth for paint but heavier; edge protection helps.
-
Solid wood: Beautiful but can move with humidity; plan your joinery accordingly.
When to Buy Instead of Build
Building is rewarding, but sometimes your timeline or tools point to a purchase. If you want ready‑to‑assemble options with anti‑tip kits and adjustable shelves, explore current styles in the bookcases for matching storage.
The Bottom Line
Learning how to build a bookcase is one of the most satisfying beginner projects you can take on. You’ll practice accurate measurements, square assembly, clean finishing—and end up with a piece you’ll use daily. Start with the simple carcass and face frame, keep shelves at smart spans, and always anchor for safety. When you’re ready to level up, you now have a roadmap for how to build a built in bookcase, how to build a built‑in bookcase into a wall, and even how to build a hidden bookcase door. Keep it simple, take your time, and enjoy the build.


Savanna Tall Shoe Cabinet,30 Pairs Shoes
$269.99
$269.99
61 reviews


Savanna 6 Drawer Dresser, 56.85 Inch Wide
$399.99
$399.99
18 reviews


Savanna Buffet Cabinet, Boho Style
$189.99
$189.99
11 reviews
Savanna Tall Shoe Cabinet,30 Pairs Shoes
$269.99
$269.99
61 reviews
Savanna 6 Drawer Dresser, 56.85 Inch Wide
$399.99
$399.99
18 reviews
Savanna Buffet Cabinet, Boho Style
$189.99
$189.99
11 reviews


Crescent Nightstand with 3 Drawers
Regular price
$239.99
$239.99
Save 17%
$199.99
$199.99
23 reviews


Savanna Buffet Cabinet with Storage
Regular price
$239.99
$239.99
Save 25%
$179.99
$179.99
33 reviews


Cas Black Shoe Cabinet Entryway
Regular price
$294.99
$294.99
Save 15%
$249.99
$249.99
13 reviews
Stay In The Know
Expert advice. Very good deals. The absolute best (and worst) things we've tested lately.
Looking for something else?
Positive and Negative Space Examples: How to Style a Balanced Home
LEARN MORE
Asymmetrical Balance in Interior Design: Style a Room That Feels Balanced, Not Matched
LEARN MORE
Line in Interior Design: How Lines Shape Space, Mood, and Balance
LEARN MORE
Bed Sizes Guide: Dimensions From Twin to King
LEARN MORERead more from Blogs
Looking for something else?
What Is a Platform Bed? A Simple Guide to Types, Benefits, and Buying
LEARN MORE
Upholstered vs Wood Bed: Which Bed Frame Is Right for You?
LEARN MORE
Best Bedroom Colors for Couples: 20 Romantic Color Ideas for a Calm Bedroom
LEARN MORERead more from Blogs
You may also like


Savanna 3 Drawers Nightstand
Regular price
$199.99
$199.99
Save 20%
$159.99
$159.99
17 reviews
Crescent Nightstand with 3 Drawers
Regular price
$239.99
$239.99
Save 17%
$199.99
$199.99
23 reviews


Crescent Modular 26.6'' Tall 9 Drawers Dresser and Nightstands Set
Regular price
$1,179.99
$1,179.99
Save 15%
Sale price
$999.99
$999.99
2 reviews


Crescent Modular 9 Drawers Dresser, 26.6'' Tall
Regular price
$719.99
$719.99
Save 17%
Sale price
$599.99
$599.99
2 reviews
Further reading
June 28, 2026
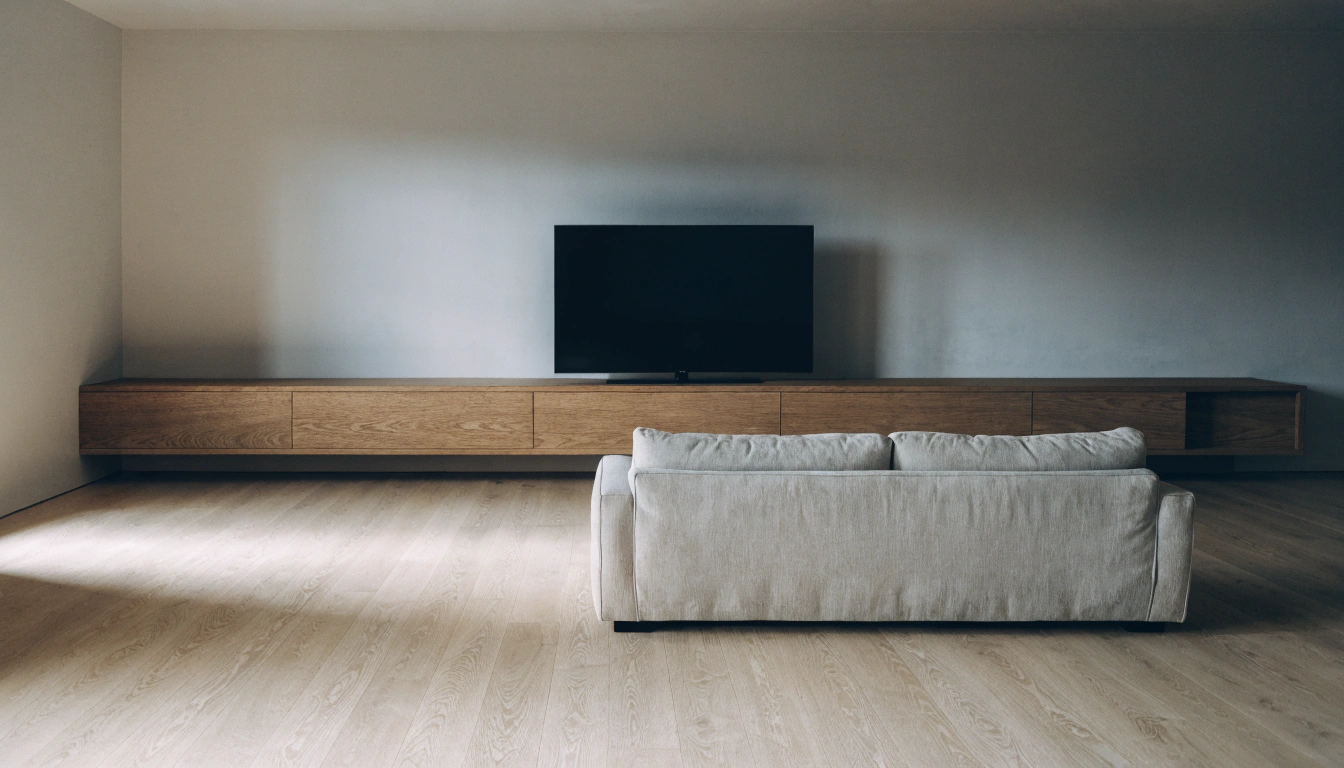
Best TV Stand Height: How to Choose the Right Size for Comfortable Viewing
The best TV stand height puts the middle of your screen at eye level when you sit down. Simple as that. Get it right, and you barely think about it. Get it wrong, and you finish a show rubbing your...
June 28, 2026
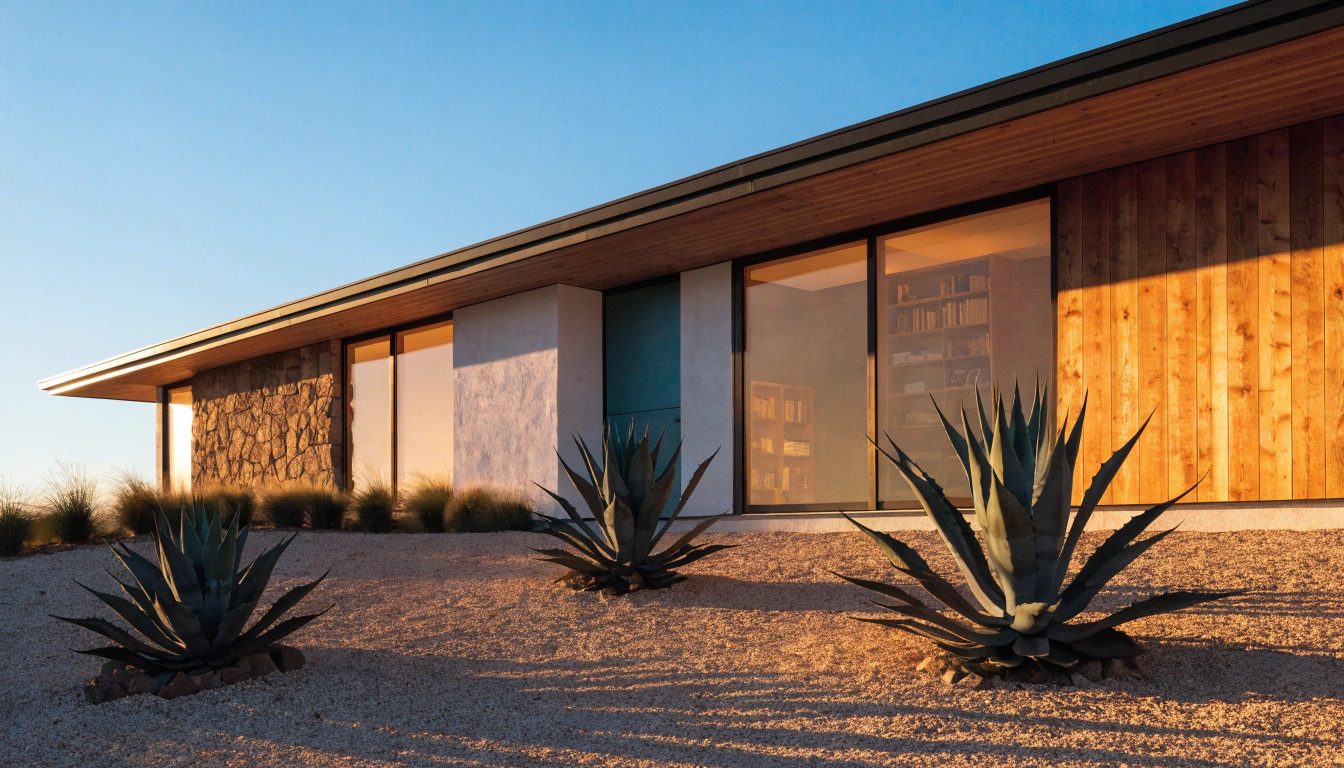
Mid Century Modern Exterior Guide: 12 Design Ideas for American Homes
Chasing that clean, low-slung look on an American home? This mid-century modern exterior guide shows you how to get there. Mid-century modern exteriors, developed in the 1940s through the 1960s, fa...
June 28, 2026
What Is a Drum Coffee Table? 15 Best Design Ideas
Walk into most living rooms, and your eye lands on the coffee table first. What is a drum coffee table? A drum coffee table makes that job easy. The drum table's meaning is right there in the name:...


