




How Do You Make a Bookshelf? Step-by-Step DIY Guide
If you’re asking how do you make a bookshelf, you probably want something sturdy, good-looking, and achievable in a weekend—without a cabinet shop full of tools. This calm, complete guide gives you the bookshelf steps from planning to finishing, plus a simple plywood bookshelf plan, cut list, and upgrades (including a clean style bookshelf variation). Whether you want a simple wooden bookshelf for the living room or a compact unit for an office, you’ll find clear, beginner-friendly directions here.
Project Snapshot
- Goal: Build a modern diy wooden bookshelf with adjustable shelves
- Skill level: Beginner → Intermediate (careful measuring beats fancy tools)
- Time: 1 weekend (Day 1 build, Day 2 finish)
- Cost: Moderate (1–2 sheets of plywood + hardware + finish)
- Core skills: Accurate measuring, square assembly, safe cutting, clean finishing
Recommended Dimensions (proportions that “just work”)
For most rooms, a proven bookshelf construction footprint is:
- Height: 72″ (tall enough for real storage, not overwhelming)
- Width: 30″ (strong shelves without center dividers)
- Depth: 11¼″–12″ (fits most books; still slim for small rooms)
Span rule: With ¾″ material, keep shelf spans about 28–32″ to avoid sag. If you want wider spans, add a front stiffener (explained below).
Materials & Tools
Materials (for a 72″H × 30″W × 12″D build)
- 1–2 sheets ¾″ plywood (4×8). One sheet is tight; two sheets give room for extra shelves or do-overs.
- 1 sheet ¼″ plywood for the back (keeps the case square)
- 1×2 solid wood for optional face frame or shelf nosing
- Shelf pins (5 mm or ¼″) + optional sleeves
- Wood glue
- 1¼″ wood screws (or pocket screws if using a jig)
- 1″ brads (optional; for back and face frame)
- Edge banding (optional if you go frameless)
- Primer + paint, or stain + clear coat
- Anti-tip kit (safety essential)
Tools
- Circular saw with straightedge guide (or table saw)
- Drill/driver + countersink bit (or pocket-hole jig)
- Random-orbit sander (120/150/220 grits)
- Measuring tape, square, pencil, clamps
- Shelf-pin jig (accuracy + speed)
- Brad nailer (optional; a hammer works)
Simple Plywood Bookshelf Plans (Cut List)

From ¾″ plywood
- Sides (2): 72″ × 11¼″
- Top (1): 28½″ × 11¼″
- Bottom (1): 28½″ × 11¼″
- Fixed center shelf (1): 28½″ × 11¼″ (boosts rigidity)
- Adjustable shelves (3–4): 28½″ × 11¼″
From ¼″ plywood
-
Back (1): 30″ × 72″ (trim to fit after squaring)
Face frame (optional, 1×2 solid)
- Stiles (2): 72″
- Rails (3–4): 27″ (top, bottom, and optional mid-rails)
Why a fixed shelf? It locks the cabinet square with the back panel and resists racking—your bookshelf plans woodworking will feel solid for years.
Step-by-Step: How Do You Make a Bookshelf?

1) Plan & Pre-Rip (15–30 min)
Sketch your cabinet, label every part, and mark cuts on the sheet. If you don’t have a table saw, ask the home center to rip the plywood into 11¼″ strips. Then you’ll only cross-cut to length at home with a circular saw and straightedge.
Pro tip: Lightly sand factory edges so glue and finishes adhere cleanly.
2) Shelf-Pin Holes (20–30 min)
It’s easier to drill shelf-pin holes before assembly.
- On each side panel’s inside face, draw two vertical lines 2″ from the front and 2″ from the back.
- Using a shelf-pin jig, drill holes every 1¼–1½″.
- Keep top/bottom margins identical so shelves line up perfectly.
3) Build the Carcass (45–60 min)
- Lay one side panel on the bench (inside face up).
- Glue and clamp the bottom shelf flush to the side’s bottom edge; pre-drill and drive 1¼″ screws through the side into the bottom. Repeat for the top.
- Flip and attach the other side panel.
- Measure and install the fixed shelf at mid-height (or slightly above center if you want taller bays below). Glue + screws from the outside; the face frame (or filler + paint) will hide screws.
Square check: Measure diagonals. If they match, you’re square. If not, clamp and nudge before glue sets.
4) Back Panel (10–15 min)
- Dry-fit the ¼″ back; trim if needed.
- Run a thin bead of glue along all rear edges.
- Nail the back every 6–8″ (or use screws).
- The back is a structural part—do not skip it.
5) Face Frame or Edge Banding (30–45 min)
- Face frame route: Join 1×2 stiles and rails with glue + brads (or pocket screws). Dry-fit, then glue and pin to the carcass flush with edges.
- Frameless route: Apply edge banding to front edges of sides, shelves, top, and bottom. Trim and sand flush. This creates a sleek simple wooden bookshelf look.
6) Fit Shelves (10–20 min)
- Insert shelf pins and test adjustable shelves.
- Typical spacing: 10–12″ for novels; 13–15″ for art/oversized books.
7) Sand & Finish (1–2 hours + dry time)
- Fill visible holes, then sand 120 → 150 → 220.
- Paint: bonding primer, then two thin topcoats (light sand between).
- Stain: pre-stain conditioner on plywood for even color, then stain + water-based polyurethane.
8) Install & Anchor (10–20 min)
- Shim for level if floors are uneven.
- Anchor to studs using the anti-tip kit. This is non-negotiable for tall furniture in family spaces.
Strength Upgrades (for heavy book lovers)

A) Front nosing (stiffener).
Glue a 1×2 along the shelf front (flush on top). This creates a small L-beam that dramatically reduces sag on wide spans.
B) Center divider.
If you want a wider cabinet, add a vertical center panel to split shelf spans in half.
C) Dual pin rows (front & back).
Supporting both the front and back edges on pins reduces torsion and keeps shelves level over time.
Style Bookshelf (Minimal, Frameless)
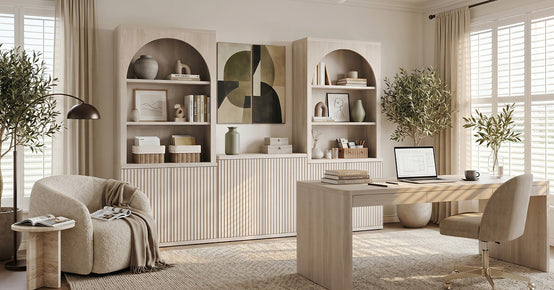
Want the minimalist style bookshelf vibe? Keep the lines crisp and the proportions quiet.
- Material: Light oak or maple veneer plywood.
- Edges: Perfect edge banding on all fronts (no face frame).
- Joinery: Pocket screws hidden underneath or biscuits/dowels for a no-visible-hardware look.
- Proportion tweak: Double up the top/bottom to 1½″ thick for a serene, grounded stance.
- Base detail: A shallow shadow reveal (recess the plinth by ~½″) instead of a visible toe kick.
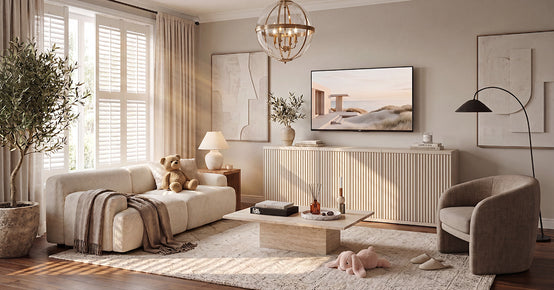
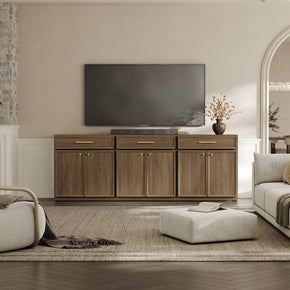
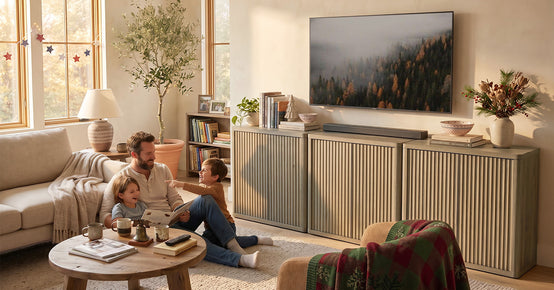
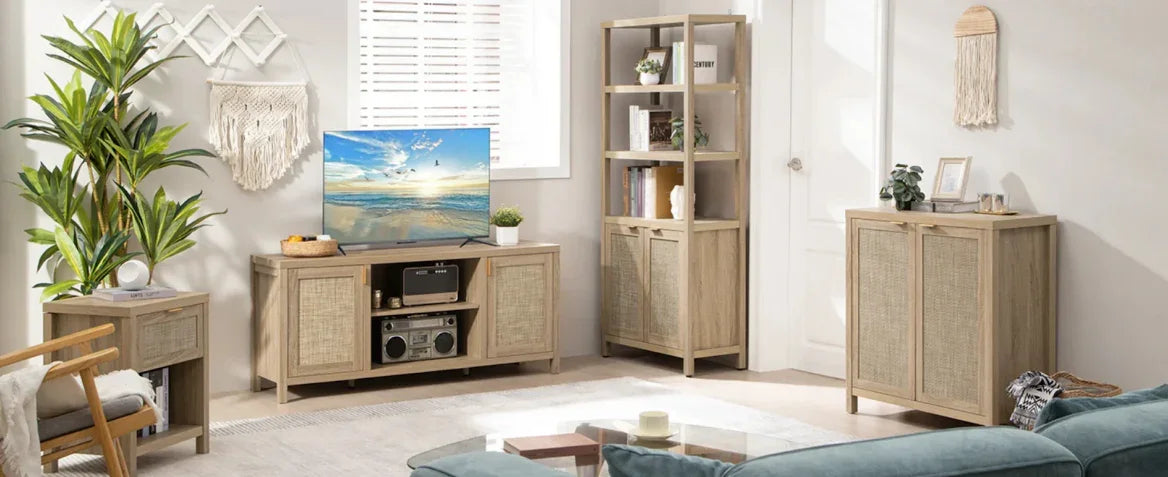
This approach pairs beautifully with neutral rooms and low, wide TV stands or sideboards.
Building Bookshelf: Common Mistakes & Easy Fixes
- Wavy cuts / tight fits: Use a straightedge guide and support the sheet fully to prevent flex.
- Out of square: Loosen clamps, pull the long diagonal shorter, then re-nail the back while square.
- Sagging shelves: Add front nosing or shorten spans; keep very heavy sets low.
- Visible screws: Face frame hides them; otherwise fill and sand before painting.
Safety Notes (seriously important)
- Eye/ear protection for all cuts and sanding.
- Dust mask or extraction—plywood dust is fine and persistent.
- Clamp workpieces before drilling/cutting; never “freehand” risky cuts.
- Anchor the case to wall studs. Keep heaviest books on lower shelves
Finish Ideas (match your room and style)

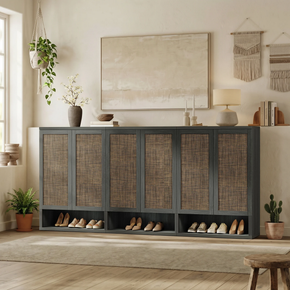
- Modern black / charcoal: Sleek, hides edges; pair with brass or matte-black hardware.
- Soft white / cream: Brightens small rooms; style with warm woods for balance.
- Natural oak / walnut: Classic library feel; satin clear coat for subtle sheen.
- Two-tone: Painted case, natural-wood shelves—a designer look using off-the-shelf materials.
Narrow Hallway Variant (small-space win)
For entries and hallways:
- Depth: 9½–10″
- Width: 24–28″
- Height: 60–72″ (anchor carefully)
- Consider a hidden French cleat at the top plus the anti-tip strap for rock-solid mounting.
Quick Reference: Shelf Spacing
- Paperbacks: 9–10″
- Hardcovers: 11–12″
-
Oversized/Art: 13–15″
Mix tight and tall bays so your bookshelf plans woodworking handle real-world collections without wasting vertical space.
Step-By-Step Recap (screenshot-friendly)
- Plan & rip plywood to 11¼″ strips; label parts.
- Drill shelf-pin holes on side panels (use a jig).
- Assemble carcass: sides + top + bottom + fixed shelf; keep square.
- Attach back (glue + brads or screws).
- Face frame or edge banding (choose the look).
- Fit adjustable shelves and test pins.
- Sand & finish (prime/paint or stain/clear).
- Install & anchor to studs.
That’s the entire bookshelf steps flow—clean, repeatable, and beginner-friendly.
Frequently Asked Questions
How do you make a bookshelf sturdy?
Use a fixed center shelf + full back for anti-racking, and add front nosing on shelves if spans exceed ~30″ with ¾″ plywood.
Can I use MDF instead of plywood?
Yes, but MDF is heavier and sags sooner. Keep spans shorter or add a front stiffener.
Face frame or frameless?
Both are great. Face frame hides screws and adds stiffness; frameless with edge banding looks ultra-modern.
How many shelves?
For a 72″ tall unit: bottom + fixed center + 3–4 adjustable shelves is a flexible starting point.
Best beginner finish?
Paint is the most forgiving: prime well, then two thin coats with a light sand between.
Can I turn this into a built-in?
Yes—add a plinth base, scribe side fillers to the wall, and finish with crown and base for a seamless look.
Planning Tip: Compare With Ready-Made Before You Cut
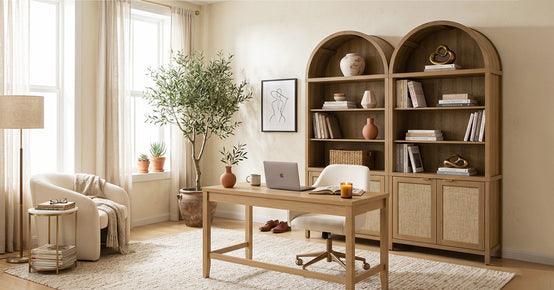
Even if you’re set on DIY, it helps to check proportional cues—door styles, heights, and finishes—from ready-made pieces. Browsing the Bookcases lets you sanity-check width/height combinations, visualize color options, and confirm how your shelf will sit beside existing furniture.
Final Thoughts
Learning how do you make a bookshelf comes down to pre-planning and clean execution: accurate rips, a square carcass, a full back, and smart shelf spacing. Start with the simple plywood bookshelf plans and cut list above, decide on face frame vs. frameless, stiffen shelves where needed, and always anchor the finished piece.
Build once, enjoy for years—and if you want matching storage without more sawdust, explore modern, easy-to-style options in the Bookcases to complement your new DIY centerpiece.


Looking for something else?

Burl Wood Furniture: The Complete Buying Guide
LEARN MORE
What Is a Hope Chest? Meaning, History, and Modern Uses
LEARN MORE
What Is a Foyer? Meaning, Purpose and Design Guide
LEARN MORE
GREENGUARD Gold Certified Furniture: What It Really Means for Your Home
LEARN MORELooking for something else?

How to Clean a Mirror Without Streaks: Simple Step-by-Step Guide
LEARN MORE
21 Above-Bed Decor Ideas for a Stylish Bedroom Wall
LEARN MORE
Furniture Materials Guide: Picking the Right Material Room by Room
LEARN MORE


Further reading

18 Decorative Storage Box Ideas That Hide Clutter Well

How to Store Comforters Without Losing Space or Loft


