


How to Build a Nightstand: Step-by-Step DIY Woodworking Guide
A nightstand might be small, but it’s one of the most rewarding furniture projects you can make yourself. Whether you want a minimalist floating table or a solid wood piece with storage, learning how to build a nightstand teaches key woodworking skills—cutting, assembly, and finishing—without requiring a full workshop.
In this guide, you’ll find a detailed process for how to build a nightstand with a drawer, how to build a nightstand with 2 drawers, and customization ideas that suit both classic and modern bedrooms. We’ll also cover sizing rules, material choices, and tips for sanding and finishing so your project looks polished enough to sit beside any designer bed.
When you’re ready for inspiration or to compare finished designs, you can explore modern and mid-century-inspired options in the nightstand.
Step 1: Choose Your Design and Dimensions

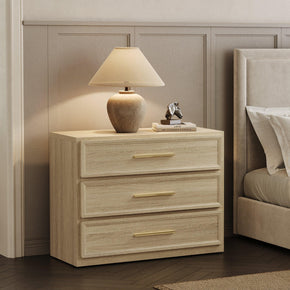
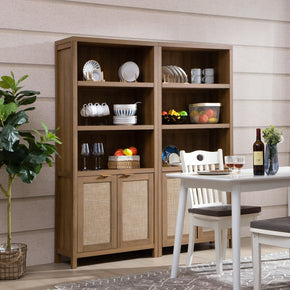
Before picking up any tools, decide what type of nightstand fits your room: open shelf, single drawer, or two-drawer storage.
Typical dimensions:
- Height: 24–28 inches (to align with mattress height)
- Width: 18–24 inches for most rooms
- Depth: 14–18 inches for balanced proportion
These measurements keep your nightstand visually aligned with your bed and ensure easy reach from your pillow. If you want a floating or wall-mounted design, keep the same surface height but reduce depth to 12–14 inches to maintain space efficiency.
Sketch or mark out your dimensions on paper before cutting any wood—it’s far easier to fix proportions on a drawing than after assembly.
Step 2: Gather Materials and Tools
For a clean, durable finish, use 3/4-inch plywood, solid hardwood, or MDF with veneer for the structure. If you plan to stain, go with oak, birch, or maple; for paint, MDF or pine works beautifully.
Basic materials:
- (2) Side panels – 24" × 16"
- (1) Top panel – 24" × 18"
- (1) Bottom panel – 24" × 16"
- (1) Back panel – 22.5" × 18" (optional, for stability)
- Drawer slides (full-extension 14" or 16")
- Wood glue, 1¼-inch screws, and finishing nails
- Wood filler and sandpaper (120, 180, 220 grits)
Tools you’ll need:
- Circular or miter saw
- Drill/driver with countersink bit
- Clamps (at least 4)
- Measuring tape, square, and pencil
- Random-orbit sander or sanding block
Optional: pocket-hole jig or biscuit joiner for cleaner, invisible joints.
Step 3: Build the Carcass (Frame)
Start with the two side panels. Apply glue along the top and bottom edges, attach the top panel flush with the top ends, and the bottom panel about 3–4 inches up from the floor to leave room for toe clearance or a base trim.
Clamp securely and drive screws through the top and bottom into the sides. Wipe any glue squeeze-out immediately—it will interfere with stain later.
To strengthen the structure, attach a back panel using glue and nails or screws. The back keeps the case square and prevents racking. If you want an open back for cable access or a minimalist aesthetic, skip it but ensure your top and bottom joints are tight.
Step 4: Add the Drawer (Single or Double Option)

If you’re learning how to build a nightstand with a drawer, this is the fun part. Drawers give your piece a professional, functional look—and they’re easier than they seem.
Option A: One Drawer
Measure the interior width between sides and subtract 1" for clearance (½" per slide). Cut two side panels, a front and back, and a bottom panel. Typical drawer depth is 12–14". Assemble with glue and screws or brads.
Install the drawer slides according to manufacturer instructions—usually flush with the bottom of the opening. Slide the drawer box in to confirm fit, then mount the drawer front flush with the carcass using clamps.
Option B: Two Drawers
Divide the vertical opening equally (or allocate a deeper bottom drawer for bulkier items). Install slides for each drawer with a spacer block or jig so the alignment stays perfect.
For a clean look, leave a ⅛-inch gap between drawers.
If you’re going for an open shelf + drawer design, fix a horizontal divider above the drawer compartment before installing slides; this adds structure and gives space for décor or books.
Step 5: Build the Base or Legs
Your nightstand can stand on solid legs, a plinth base, or even a floating bracket.
- Tapered wooden legs give a mid-century feel—common height: 6–8 inches.
- Box base or plinth offers a stable, modern look, slightly recessed from the edges.
- Metal hairpin legs add industrial flair while keeping the piece light.
Attach legs or base with screws and brackets, always checking for level before tightening. If you prefer a floating effect, mount a French cleat on the wall and mirror it on the nightstand back.
Step 6: Sand, Fill, and Prepare for Finish
This step separates “DIY project” from “furniture you’re proud of.” Start with 120-grit sandpaper to remove machine marks, move to 180, and finish with 220 for smoothness. Fill nail holes and seams with wood filler, then sand flush.
Vacuum the dust or wipe with a damp rag—any leftover dust will ruin your finish.
For paint, apply a primer first. For stain, use a pre-stain conditioner on softwoods to prevent blotching, then apply your stain with a clean cloth or brush in long, even strokes. Finish with polyurethane (matte or satin) for durability.
Step 7: Attach Hardware and Final Details
Install your drawer pulls or knobs carefully, measuring equal distances from edges for perfect symmetry. Add felt pads under the legs to protect floors.
If you want to personalize the piece, you can:
-
Line drawers with peel-and-stick fabric or wallpaper.
-
Add LED strip lighting beneath for a floating glow.
-
Install wireless charging pads in the top for modern function.
Once assembled and finished, let the piece cure for at least 24 hours before loading it with items.
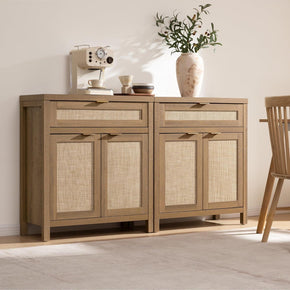
How to Build a Nightstand with 2 Drawers (Detailed Variation)

For readers aiming to master how to build a nightstand with 2 drawers, here’s an additional overview tailored to double-storage units.
Key adjustments:
- Height: Add 3–4 inches to overall dimension so drawers stay functional above and below.
- Divider: Include a solid mid-panel between drawers for extra strength.
- Slides: Use high-quality, full-extension slides to support the added weight.
- Face alignment: Start from the bottom up—install lower drawer first, then use a spacer to align the upper one perfectly.
With two drawers, proportion becomes critical. Keep each drawer front about 6–7 inches tall for balance and usability.
Style Customizations
Once the build is solid, the fun begins.
- Minimal modern: Flat fronts, hidden pulls, matte paint, or natural light wood finish.
- Classic or farmhouse: Framed drawer fronts, turned legs, and brass knobs.
- Scandinavian: Soft neutral tones, rounded corners, and tapered legs.
- Industrial: Exposed metal legs, black handles, and dark walnut stain.
Each finish changes the mood of your bedroom, so think about how the nightstand interacts with your bedframe and flooring.
Tips for a Professional Look
- Test-fit everything dry before gluing or screwing permanently.
- Use wood glue liberally but wipe excess immediately.
- Clamp joints tightly—tight joints mean invisible seams.
- Pre-drill screw holes to prevent splitting.
- Edge-band plywood with matching veneer strips for a polished finish.
- Seal interior surfaces too; raw wood can absorb moisture from drinks or humid air.
If you’re new to woodworking, keep the design simple—square cuts, single drawer, clean lines. You can always build a second version later with more advanced joinery.
Troubleshooting Common Mistakes
Drawer sticks or won’t close flush: Check alignment of slides; even a 1/16-inch tilt can jam motion. Loosen screws, shim, and retighten.
Surface finish looks uneven: Sand lightly between coats and maintain consistent stroke direction when applying stain or topcoat.
Wobbly legs: Tighten screws, add corner blocks inside the frame, or check that your floor is level before blaming the build.
When to Buy Instead of Build
Building your own nightstand is rewarding, but time, tools, and space matter. If you lack a dedicated work area or simply prefer a ready-made design, consider investing in a professionally crafted one that meets the same dimensions and quality benchmarks. You’ll still apply what you’ve learned about height, proportions, and storage layout when choosing a piece that fits perfectly beside your bed.
You can browse practical, stylish designs with drawers and shelves in the SICOTAS nightstand collection, where each model already aligns with standard mattress heights and modern storage needs.
Frequently Asked Questions
How long does it take to build a nightstand?
A simple one-drawer nightstand takes 6–8 hours spread over a weekend. Add a day for staining and finishing.
How much does it cost to build?
Depending on wood type and hardware, anywhere between $60–150 USD, often less than half the price of similar store pieces.
Can I build it without power tools?
It’s possible using hand saws and screwdrivers, but you’ll save time and improve accuracy with a circular saw and drill.
What’s the strongest joint for drawers?
Dovetails are traditional, but pocket screws or simple butt joints reinforced with glue are perfectly strong for everyday use.
Can I modify this to build matching tables?
Absolutely—scale down the height by 3–4 inches and you’ve got perfect end tables for your living room.
The Bottom Line
Learning how to build a nightstand blends practicality with creativity. The process teaches precision, proportion, and patience—and the finished piece adds instant warmth to your space. Whether you build a single drawer model or tackle how to build a nightstand with 2 drawers, you’ll understand your furniture better and appreciate the craftsmanship behind every detail.


Stay In The Know
Expert advice. Very good deals. The absolute best (and worst) things we've tested lately.
Looking for something else?
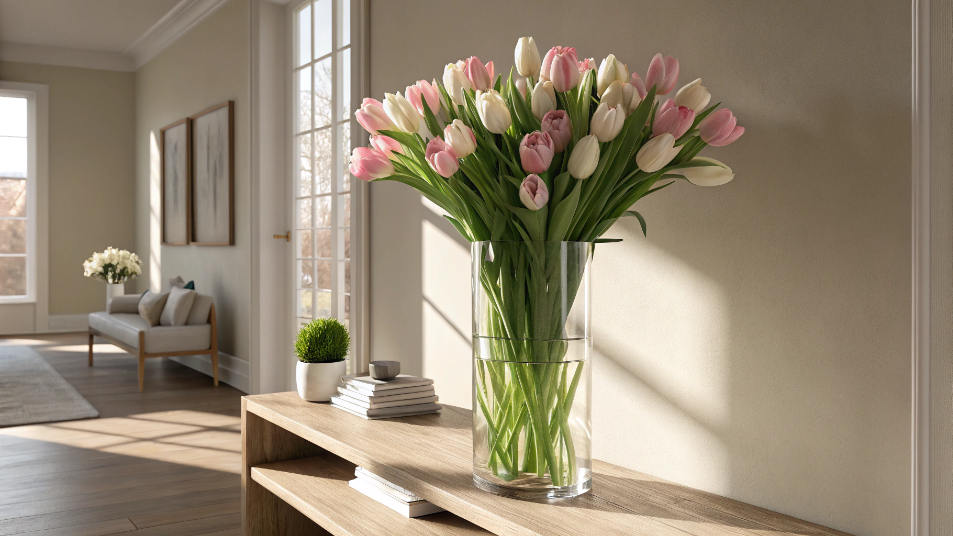
Best Vase for Tulips: A Florist's Honest Guide to Shape, Height, and Styling
LEARN MORE
41 Small Outdoor Living Spaces Ideas to Transform Even the Tiniest Patio
LEARN MORE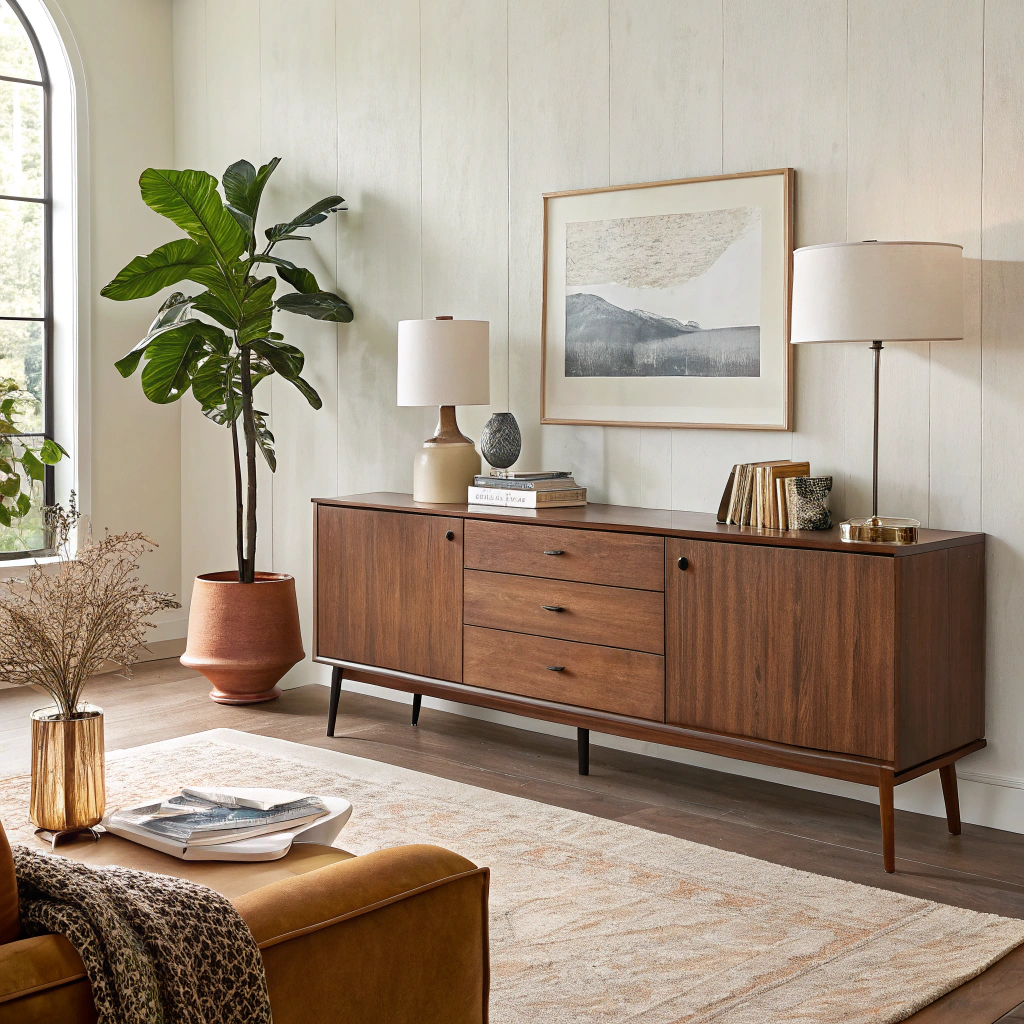
Modern Sideboard for Living Room: Complete Buying & Styling Guide
LEARN MORE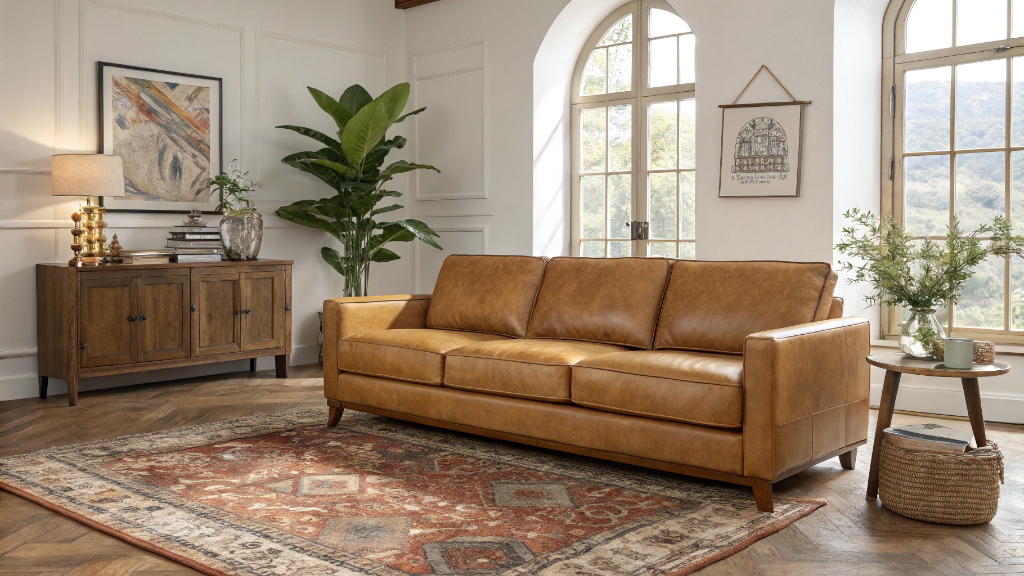
17 Camel Leather Sofa Decorating Ideas to Transform Your Living Room
LEARN MORERead more from Blogs
Looking for something else?

36 Wall Art Ideas That Make Any Room Feel Finished
LEARN MORE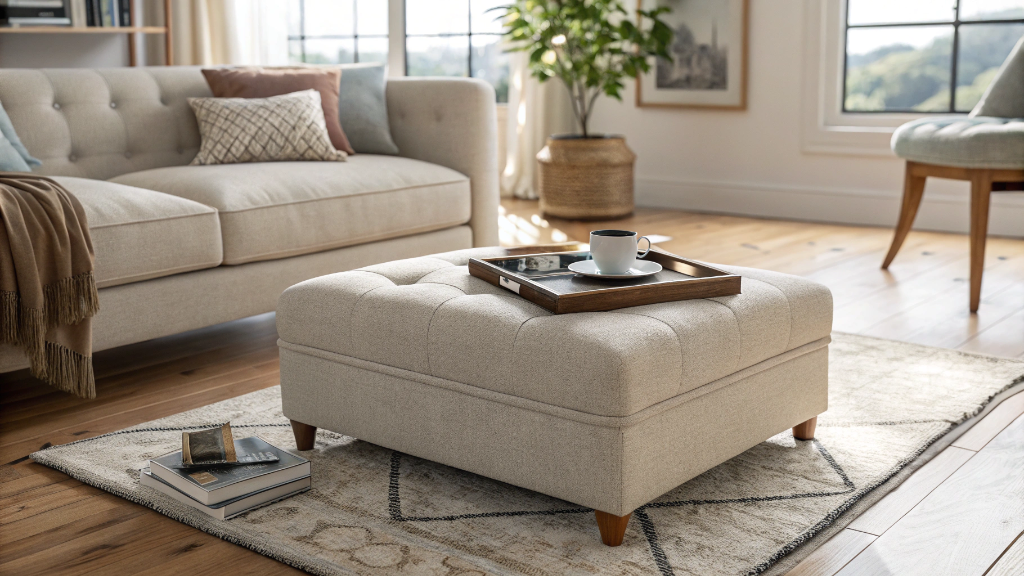
What is an Ottoman? 8 Reasons Why You Need One
LEARN MORE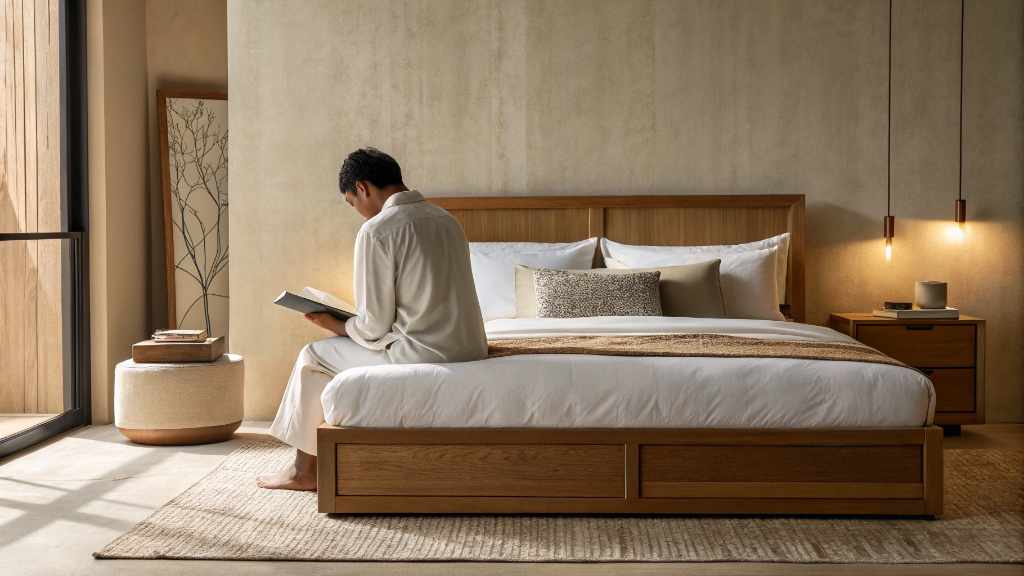
How to Sit in Bed With Good Posture: 10 Simple Tips
LEARN MORERead more from Blogs
You may also like


Further reading
What Is a Platform Bed? A Simple Guide to Types, Benefits, and Buying
Bed Sizes Guide: Dimensions From Twin to King